All guides & tutorials
in this lesson
1
What Allocate students manually ensures
2
How to allocate students manually
3
Copy group
4
Linked groups
5
6
7
8
9
10
11
share
Manual allocation of students into groups
Allocate students to groups manually when automatic allocation is not possible or when you need precise control.

Requirements
What Allocate students manually ensures
- Capacity is enforced. You cannot allocate more students than the group capacity.
- Selection is limited to students enrolled in the module.
- If a student is already allocated to another group in the same activity, Allocate will safely swap the student to the target group.
How to allocate students manually
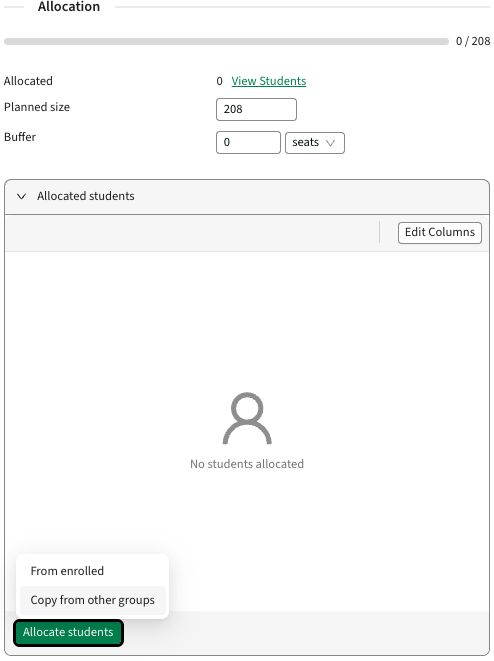
- Open the group drawer for the target group.
- Expand the Allocated students section.
- Click Allocate students and select From enrolled.
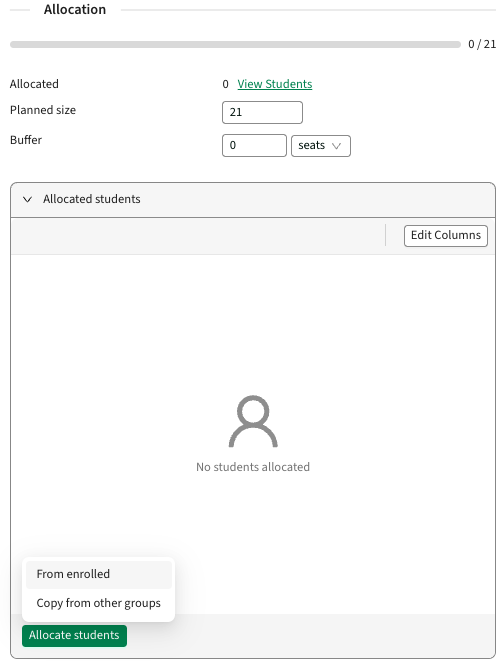
- In the enrolled student list, select the students to allocate.
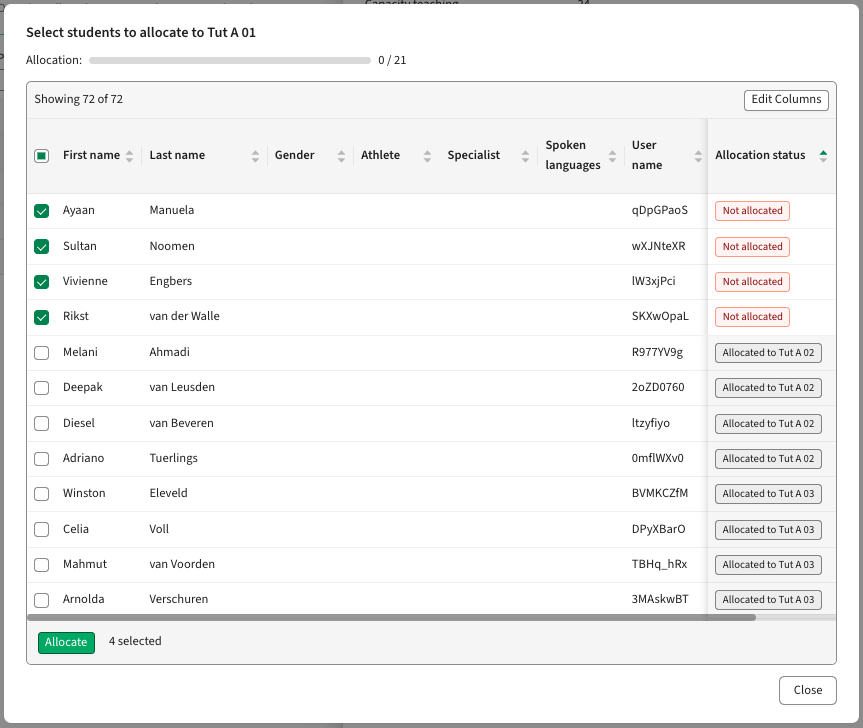
- Click Allocate students.
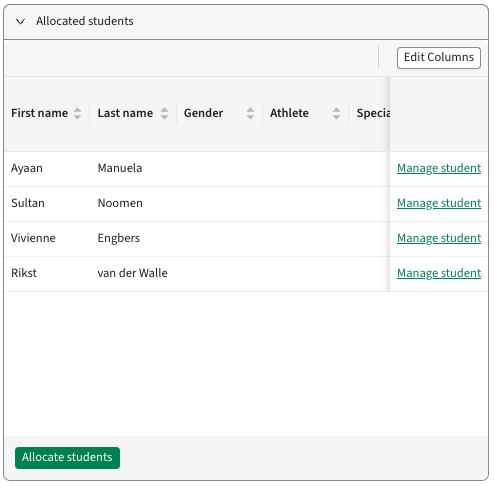
- Press close to return to the group drawer, where the newly allocated students appear in the Allocated students section.
Copy group
Use Copy group to replicate allocations from one group to another, even across different modules. Allocate filters to only eligible, enrolled students and preselects them for a one‑click confirmation.
Key benefits
- Maintain consistent student groupings across activities and modules
- Save time by bulk‑copying instead of selecting students one by one
- Reduce errors with automatic filtering of eligible students
How to copy allocations from a source group
- In the target group drawer, click Allocate students then choose Copy from other groups.
- Select one or more source groups from the database.
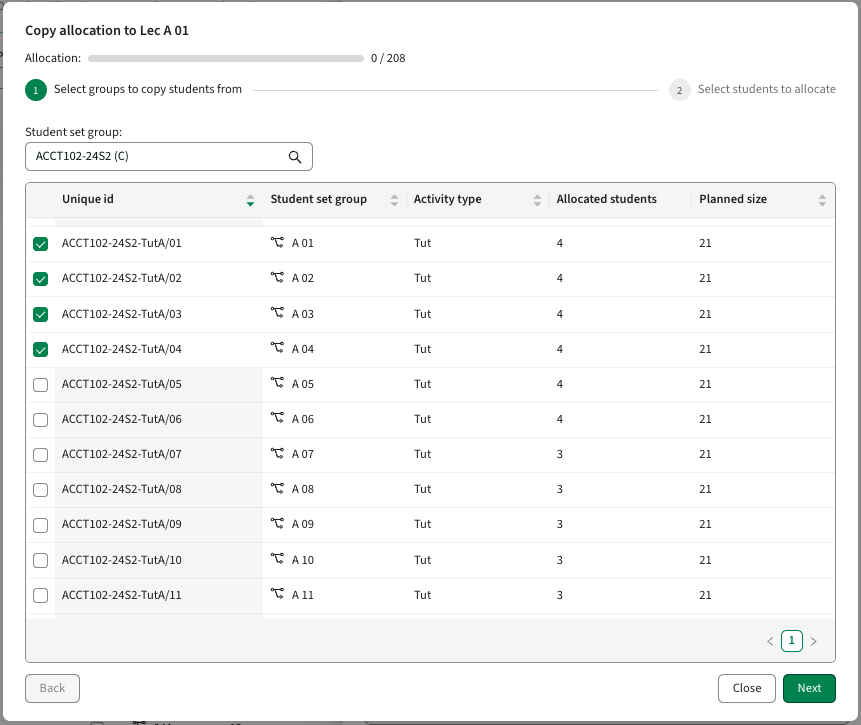
- Review the preselected list. It contains enrolled students that are allocated to the selected source groups.
- Optionally adjust the selection.
Note: Students not enrolled in the target module are excluded automatically.
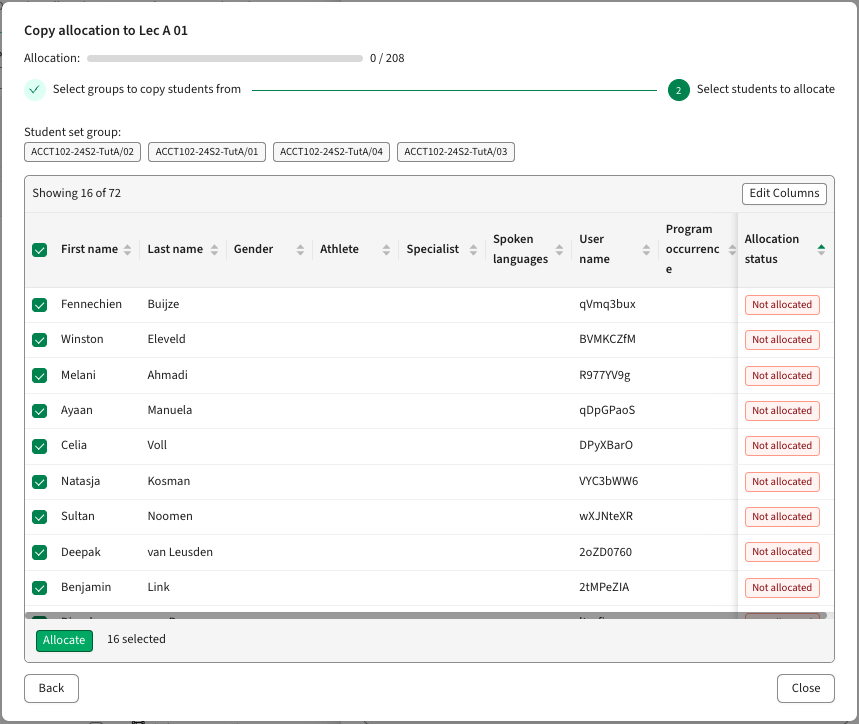
- Click Allocate students to confirm and allocate students.
- Press close to return to the group drawer, where the newly allocated students appear in the Allocated students section.
Linked groups
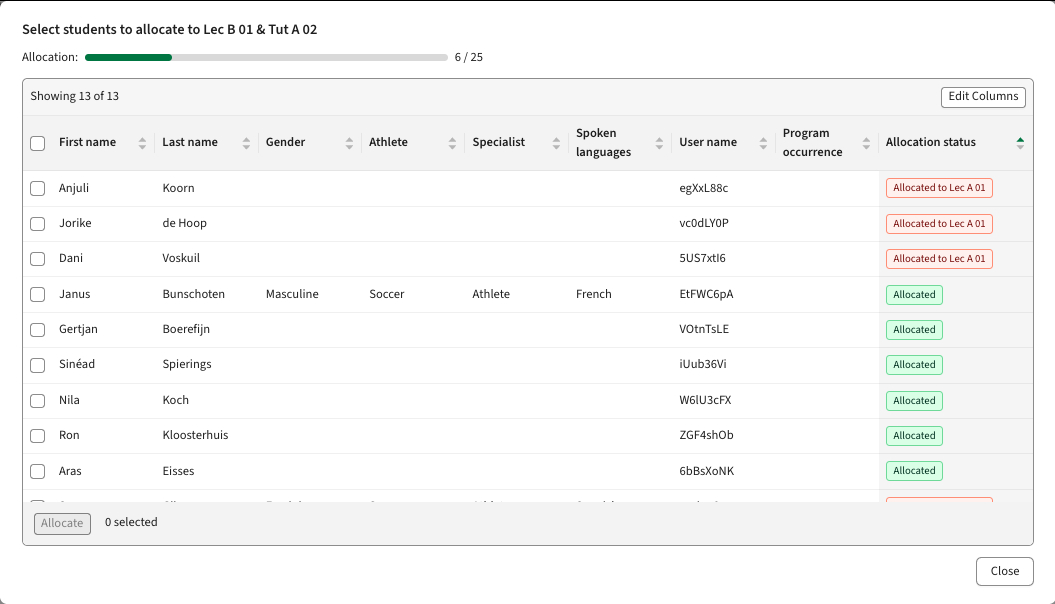
When manually allocating to a group that is linked to another group
- Students will be allocated to the selected group and its linked group.
- If students already have allocations in one or both activities, those allocations are removed before allocating the the selected group and its linked group.
This is to avoid having students with only partial allocation or allocation not matching how the groups has been linked together.