How to apply bulk changes to a group of reservations
Within this guide you will find out how to apply bulk changes to a group of reservations or bookings. This is all within TE Core so as a scheduler you can make the changes to all reservations in a few easy steps before getting on with your next task. This might be a change in room allocation due to a room closure, or change of staff due to long service leave.
Bulk Update
Bulk update
Step 1
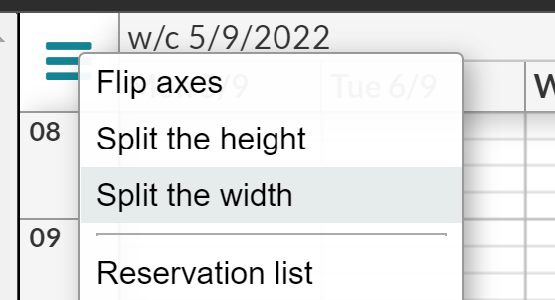
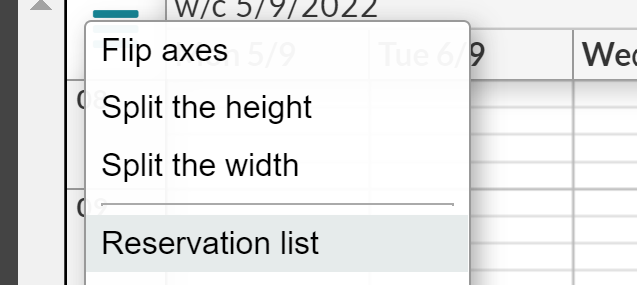
Get your booking list by clicking on the icon with the three horizontal lines in the top left corner, then select "Split the width" and in the new calendar window that is now visible, click on the three horizontal lines again and select "Reservation List ".
1A - Split the width.
1B - Reservation list
Step 2
Select the bookings on which you want to change the items by clicking on those rows in the booking list while holding down the ctrl key on your keyboard. (Using a Mac? Hold down the command key instead of ctrl) This will mark multiple bookings at once.
Note- If you want to mark all bookings in the list, hold down ctrl+a (cmd+a if you use a mac)

Step 3
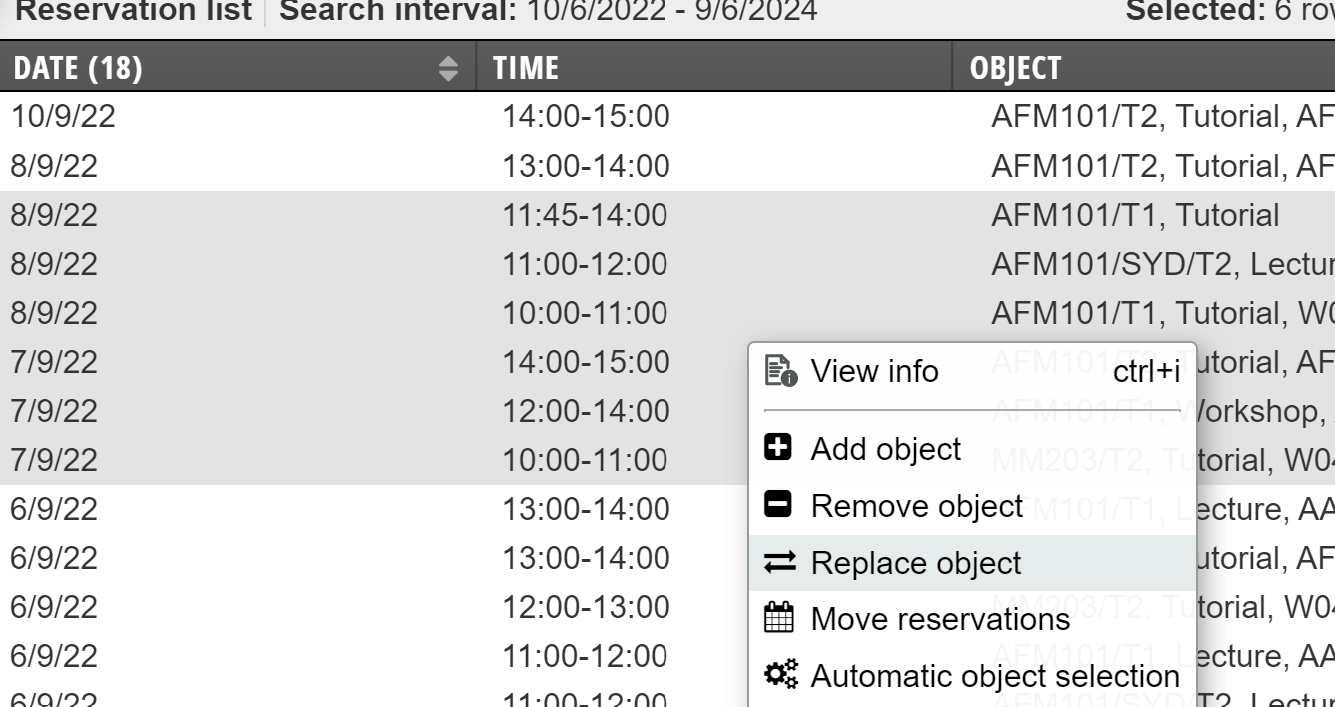
Now right-click on any of the highlighted rows and select "Replace Item".
Step 4
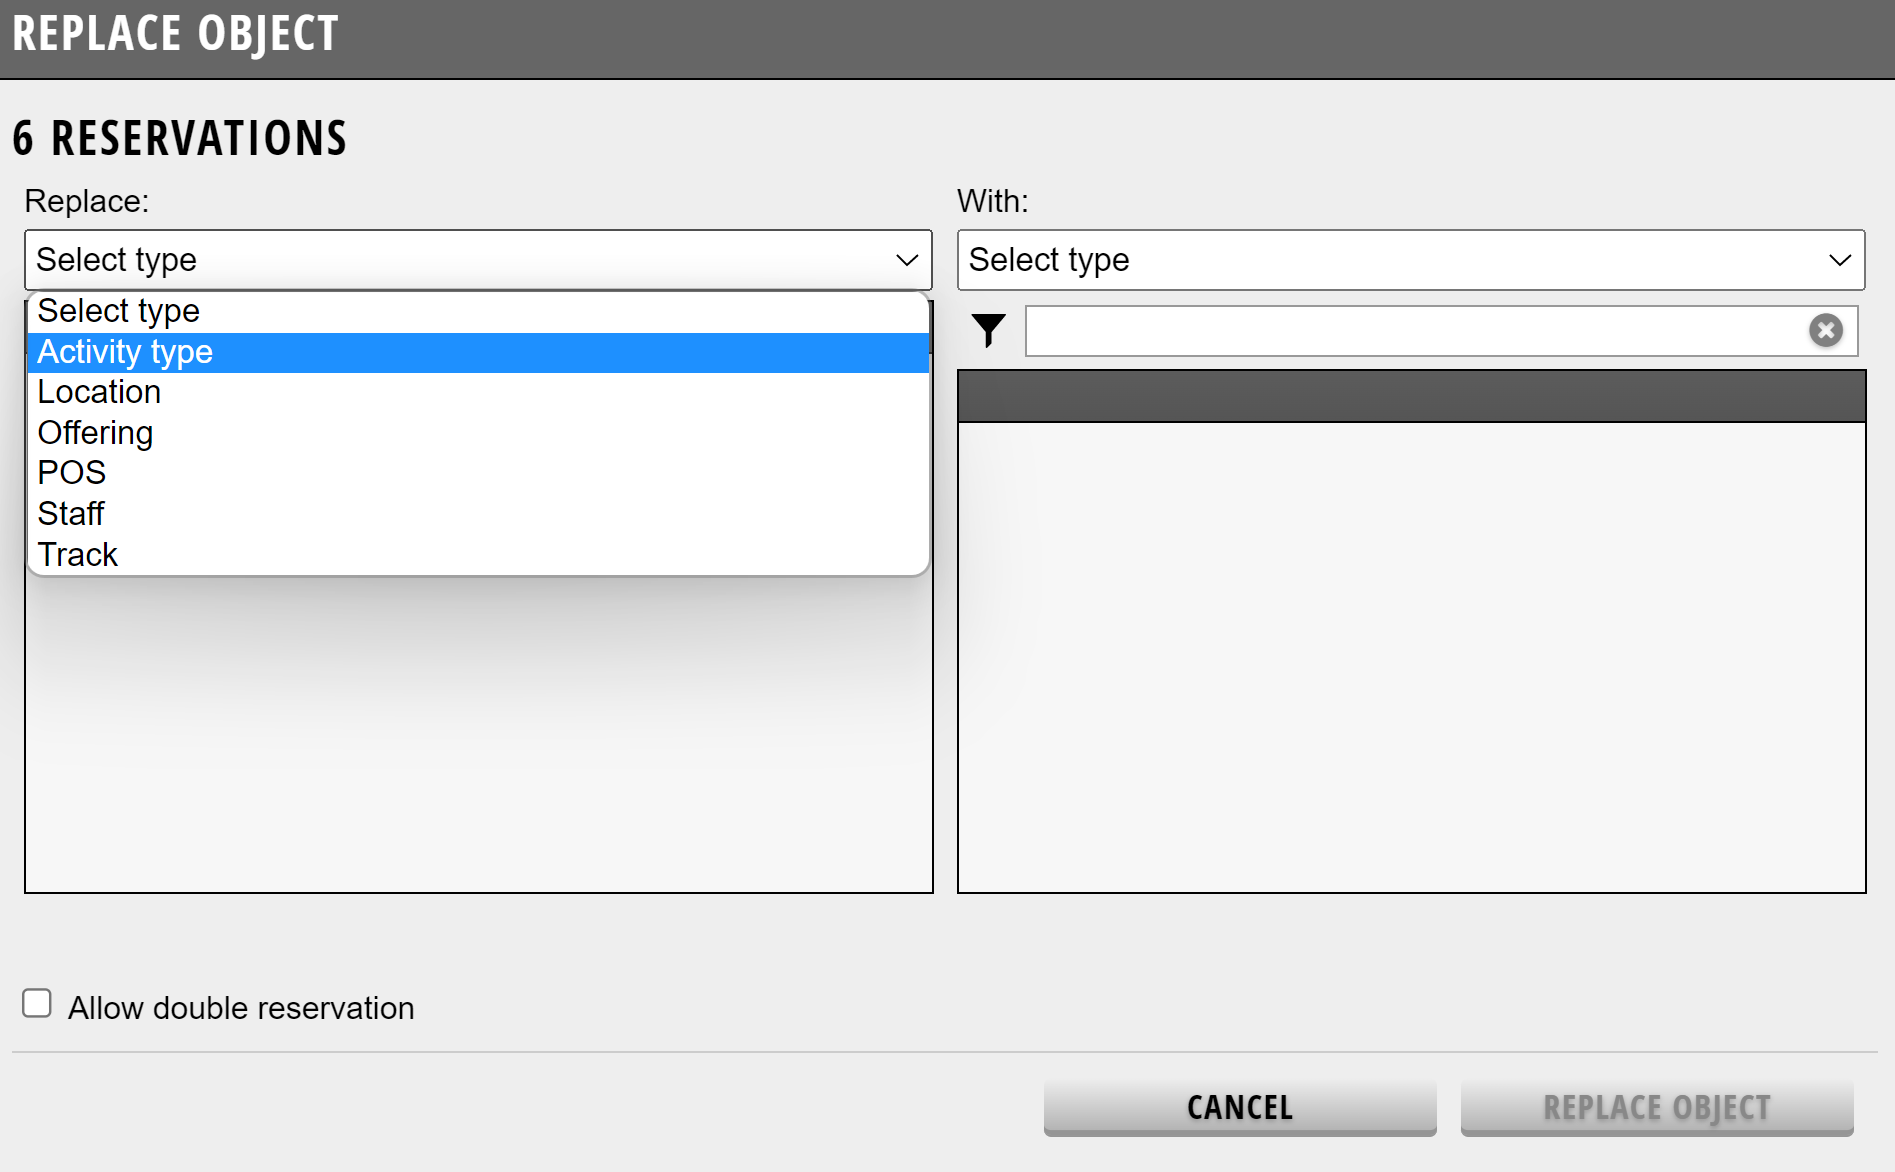
We are now greeted by this dialog where under "Replace" we must select the type that contains the object we want to replace and then under "With" we select the type and also the object we want to replace it with.
Step 5
As we can see in the image example below, we have now under "Replace" selected "Activity Type" and also the three Activity Names listed below.
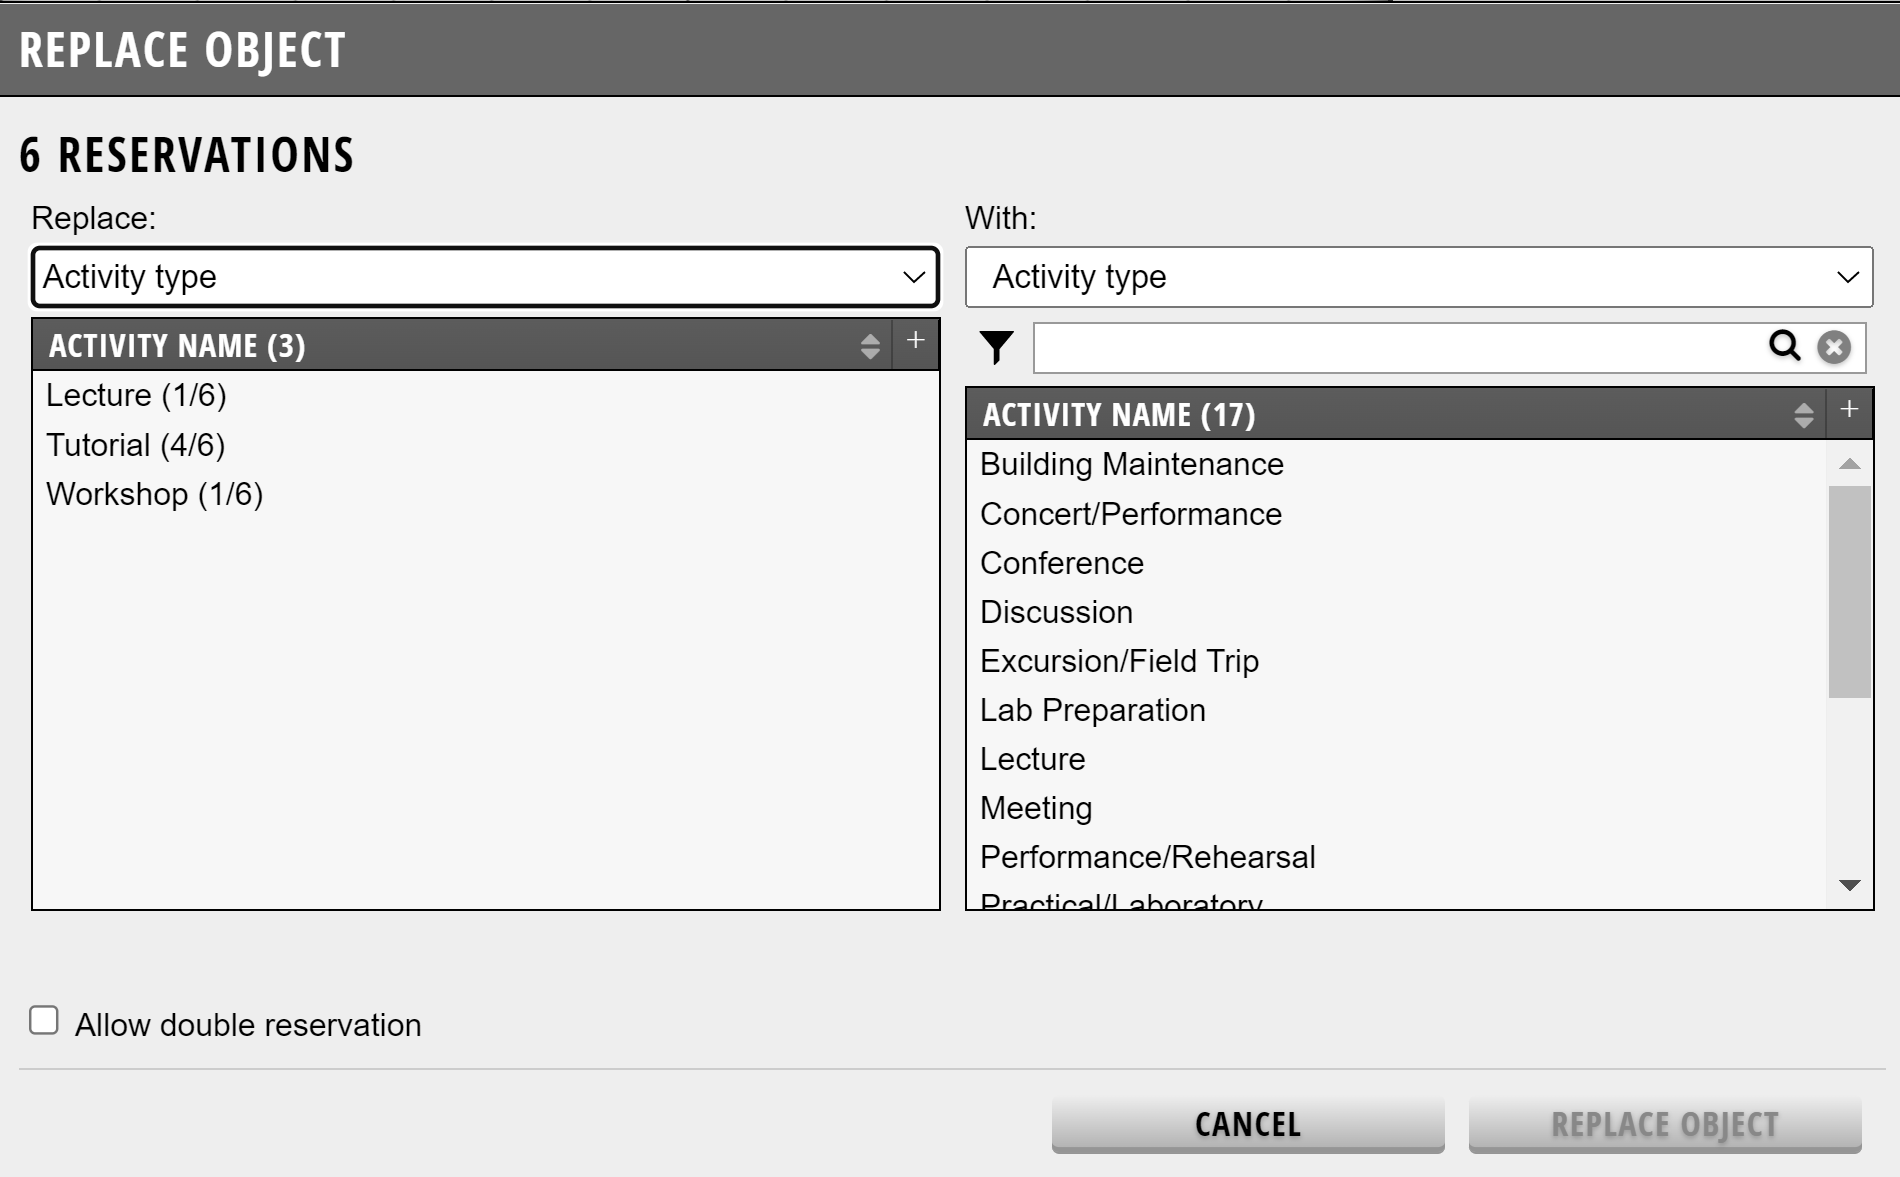
We can also see that there is a number next to each Activity Name - eg. Lecture has '1/6' meaning one out of the 6 selected bookings contain this Activity Type.
Under "With" we can now see that we have also selected "Activity Type" there and can then make our selection of the new Activity Type we are wanting to change these to.
What happens now when we then click on "Replace object" is that the Activity Type 'Lecture' is replace to our newly selection option for the 1 out of 6 bookings.
Step 6
We click on "Replace item" and the following warning box is displayed:

We then click on "Replace Object" again when we are sure that we want to make this change.
The change is implemented and we receive the following confirmation:
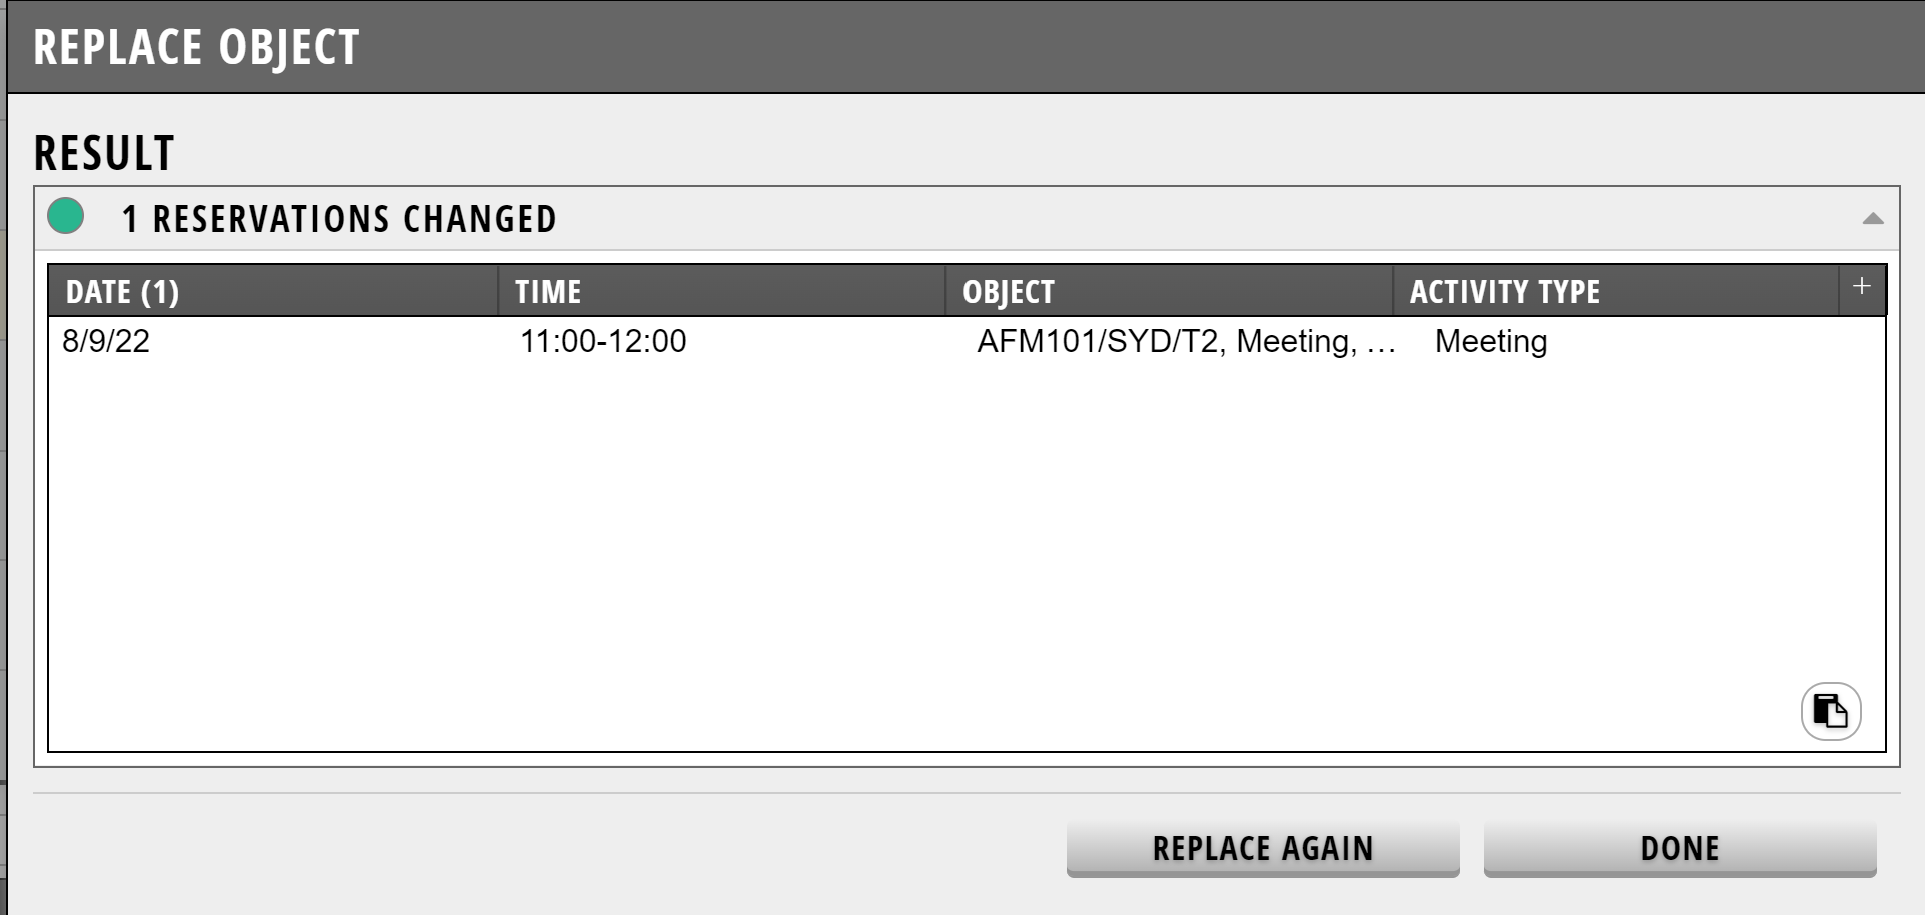
We can now click "Done" and return to our work in TimeEdit.
Note- We can also see "Replace Again" button to the left of "DONE" button. This button takes you back to the replacement box in step 5 where you can then make more changes to the objects you previously selected.


